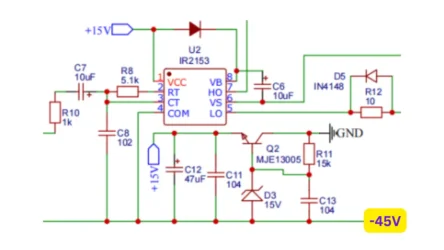
A diode is a small electronic component or part that lets the electricity to flow in only one direction. To check if a diode is working properly or not, you need a tool called a digital multimeter. This tool can able to measure the electricity flows in a circuit or any electronic components. Most digital multimeters have a special mode just for checking diodes, it is called the “diode test mode”.
To begin, remove the diode from any circuit or make sure the power is off. Turn on the multimeter using the rotating switch and change its position pointing to the diode test mode. The multimeter has two wires called probes – one is red (positive) and the other one is black (negative). Connect the red probe to the diode’s positive side (called the anode) and the black probe to the negative side (called the cathode).
If the diode is good, the multimeter will show a number between 0.5 and 0.8 volts (for most regular diodes). This means the diode is letting electricity flow in the correct direction. Now, switch the probes – red to the cathode and black to the anode. In this direction, a good diode will block the flow, and the multimeter will show nothing or “OL” (which means open loop). That’s normal and shows the diode is working as it should.
If you see 0 volts or the same reading in both directions, the diode is faulty. A reading of 0 both ways means the diode is shorted (it lets electricity flow both ways). If you always see “OL,” then the diode is open and not allowing electricity through at all. Either way, that diode should be replaced. If the diode is getting hot or cracks on them also indicates that the diode is damaged.This simple test helps make sure the diode works properly in your electronic projects.