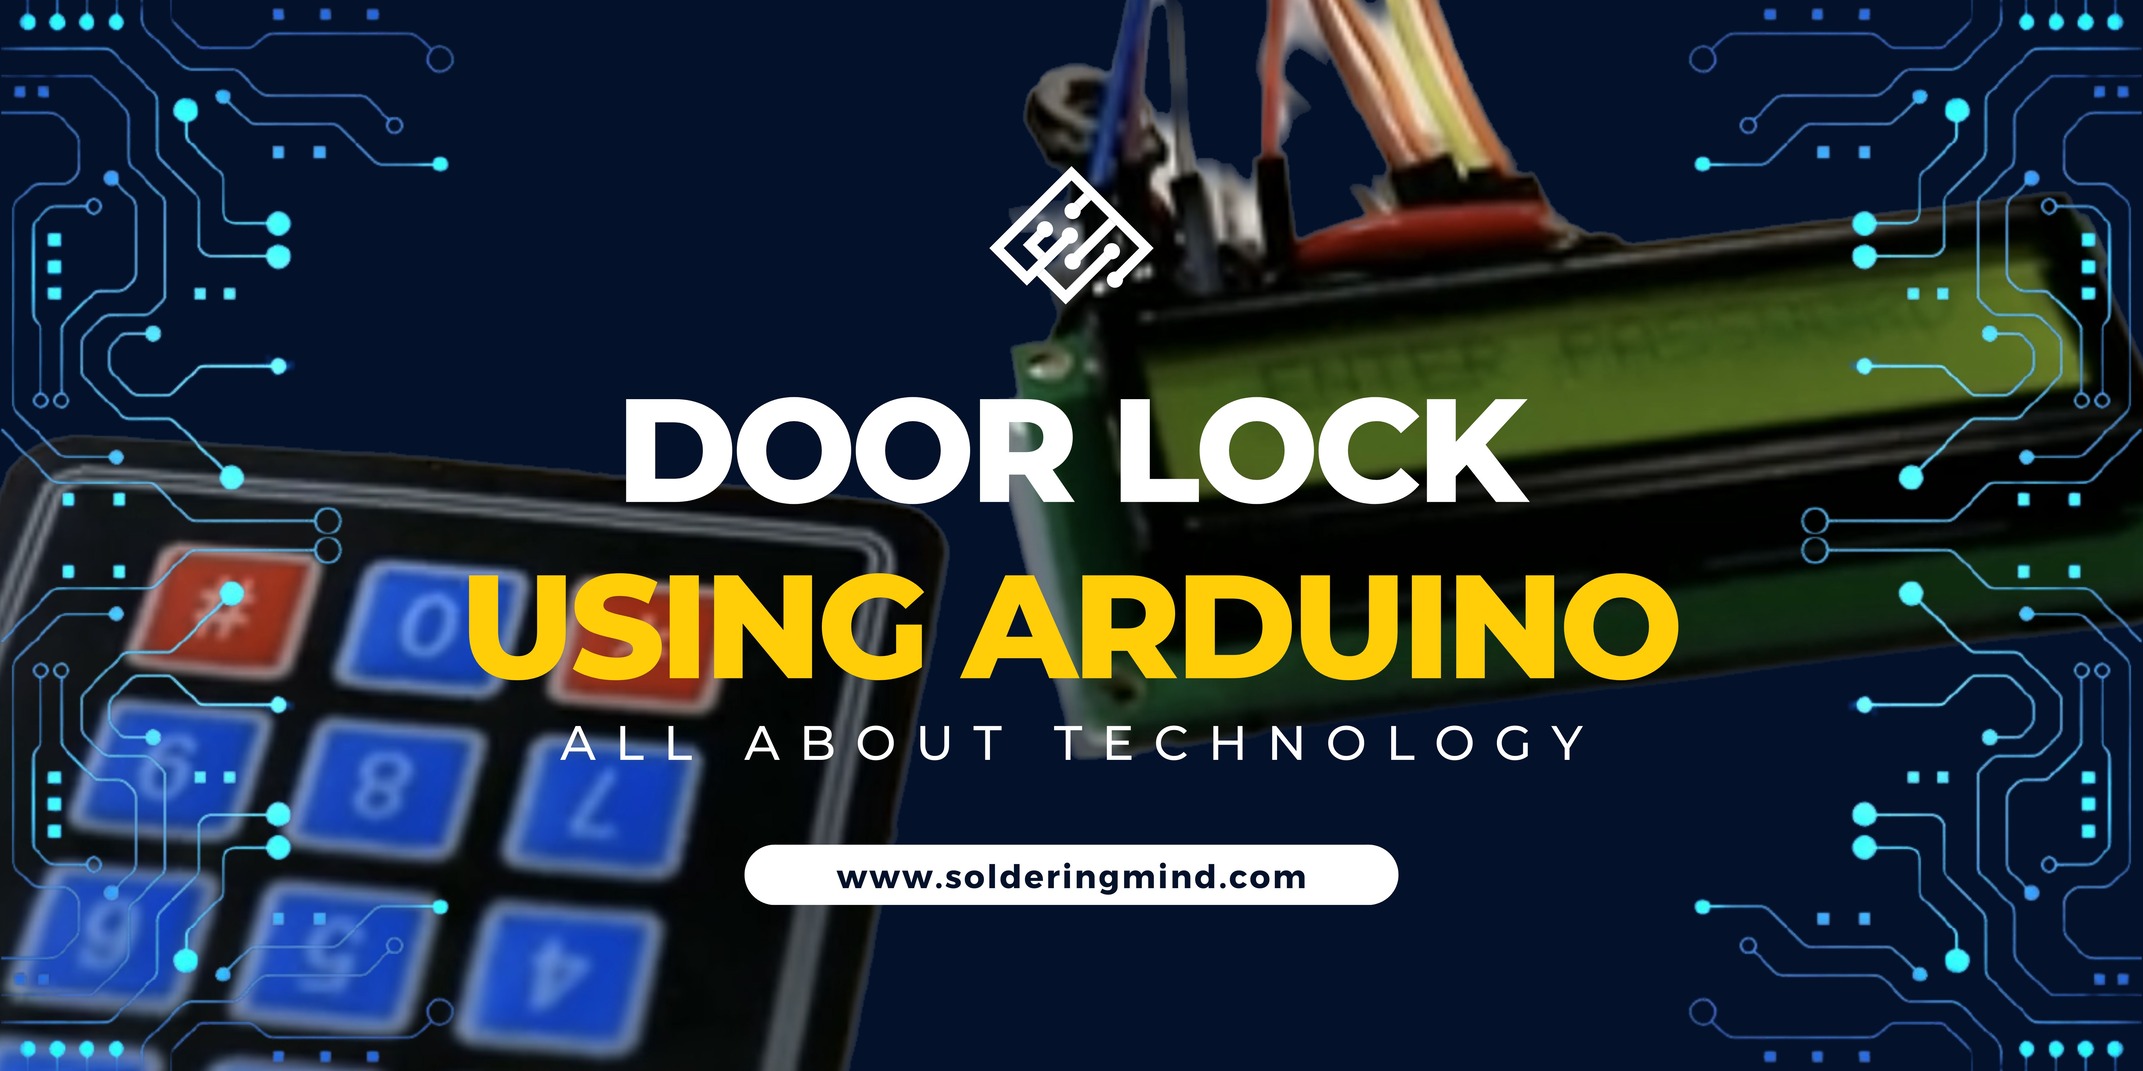
An Arduino smart lock is a home security lock system that is controlled by an Arduino microcontroller. It can be programmed to accept different inputs, such as a password, a key fob, or a smartphone, to unlock the door.
Things You Needs
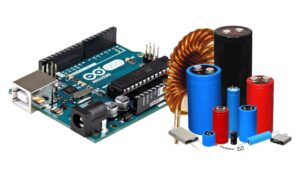
To build an Arduino smart lock, you will need the following components:
- An Arduino microcontroller board
- A lock mechanism, such as an electric strike or a solenoid lock
- A keypad or other input device
- Relays or other control electronics to interface the lock mechanism with the Arduino
- Wiring and power supplies
The software aspect of the project involves writing code in the Arduino Integrated Development Environment (IDE) to control the lock mechanism based on the inputs received. The code can also include features such as password validation, error handling, and debugging.
Overall, building an Arduino smart lock is a project that requires a combination of hardware and software skills, as well as the ability to work with electrical circuits and write code. It can be a challenging but rewarding project for those with an interest in electronics and home automation.
Door Lock Using Arduino Code
#include <Keypad.h>
const byte ROWS = 4;
const byte COLS = 4;
char keys[ROWS][COLS] = {
  {'1','2','3','A'},
  {'4','5','6','B'},
  {'7','8','9','C'},
  {'*','0','#','D'}
};
byte rowPins[ROWS] = {9, 8, 7, 6};
byte colPins[COLS] = {5, 4, 3, 2};
Keypad keypad = Keypad( makeKeymap(keys), rowPins, colPins, ROWS, COLS );
int relayPin = 12;
char password[6] = "123456";
char input[6];
int i = 0;

void setup() {
  pinMode(relayPin, OUTPUT);
  digitalWrite(relayPin, HIGH);
}

void loop() {
  char key = keypad.getKey();
  if (key) {
    input[i++] = key;
    if (i == 6) {
      i = 0;
      if (strcmp(input, password) == 0) {
        digitalWrite(relayPin, LOW);
        delay(3000);
        digitalWrite(relayPin, HIGH);
      }
      memset(input, 0, sizeof(input));
    }
  }
}
In this code, the Keypad library is used to interface with a keypad and the relayPin is used to control a relay that is connected to the lock mechanism.
The password is stored in the password array, and the input entered by the user is stored in the input array.
The code checks the entered password against the stored password. if they match, it activates the relay to unlock the door for 3 seconds before locking it again.
Keypad Code Explained
#include <Keypad.h>
const byte ROWS = 4;
const byte COLS = 4;
char keys[ROWS][COLS] = {
  {'1','2','3','A'},
  {'4','5','6','B'},
  {'7','8','9','C'},
  {'*','0','#','D'}
};
This code is part of an Arduino sketch that implements a smart lock using a keypad for input. The Keypad.h library is included to use the functions provided by the library to interface with the keypad.
The ROWS and COLS constants define the number of rows and columns in the keypad, respectively. The keys array is used to store the keys on the keypad, and the rowPins and colPins arrays define the digital pins of the Arduino that are connected to the rows and columns of the keypad, respectively.
The Keypad object, keypad, is created using the makeKeymap function to map the keys in the keys array to the rows and columns of the keypad. The keypad object is then used to receive input from the keypad and store it in a variable.
Loop Function
void loop() {
  char key = keypad.getKey();
  if (key) {
    input[i++] = key;
    if (i == 6) {
      i = 0;
      if (strcmp(input, password) == 0) {
        digitalWrite(relayPin, LOW);
        delay(3000);
        digitalWrite(relayPin, HIGH);
      }
      memset(input, 0, sizeof(input));
    }
This code is part of the loop function in the Arduino sketch. The loop function is executed repeatedly as long as the Arduino is powered on.
The keypad.getKey function is used to get the key that was pressed on the keypad, and the key variable is used to store the returned value. If a key was pressed, the code checks if the length of the input array, stored in the i variable, is equal to 6. If it is, the code compares the input array with the password array using the strcmp function.
If the input and password arrays match, the code sets the state of the relayPin to LOW, which activates the relay, and the door is unlocked for 3 seconds. After 3 seconds, the code sets the state of the relayPin back to HIGH, which deactivates the relay, and the door is locked again. The memset function is used to clear the input array for the next input.