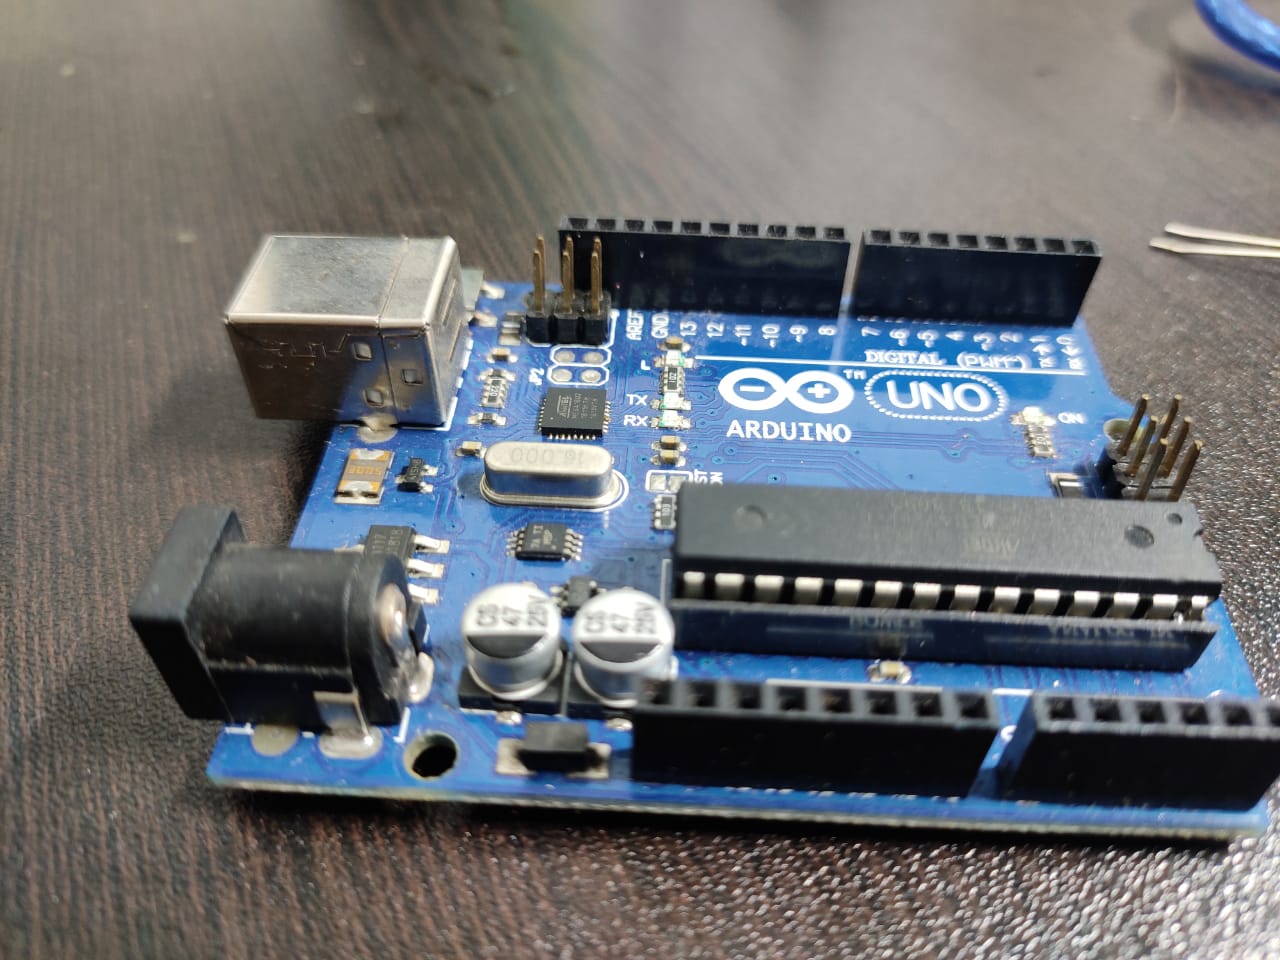
Arduino UNO or Arduino nano working based on a microcontroller chip of Atmega328p. Programming Arduino is a very easy task. Comparing to other microcontroller Arduino boards are very easy to understand and programming. so in this article, I would like to share the interesting topic of the easy way of Arduino programming for beginners.
Getting started with Arduino
The Arduino software allow you to write the program and read the program to upload it to your board. In the IDE software is working based on the code. for installing a new Adruino code to the Arduino UNO board you need to install the Arduino desktop IDe software, mobile application in is also available.
Download official Arduino UNO IDE software from the Arduino cc website. The open-source Arduino IDE software runs on Windows Mac OS and Linux. After downloading let’s discuss the basis of some Arduino programming.
The main structure of the arduino program is very simple. The arduino programs having a minimum of two blocks of data preparation and execution. This block has a set of statements will be enclosed in curly braces.
Void setup()

{

Statement:-

.

.

Statement: end

}
The setup () Is preparation block and loop() execution block. The setup function is to execute when the program is executed. And the function is called only once. the main setup function is used to initialize the in modes and start serial communications.
For example
Void setup ()

{

Pinmode( pin number,output);

Pinmode(pin number,input);

}
After the setup is executed the execution dogs run next the execution block ho statement like reading the input triggering output and checking the conditions etc.
Then the next function the loop function will be executed the set of statement enclosed in a curly braces repeatedly.
Void loop()

digital write( pin number,high); // turn on components pin out

Delay(400);

digital write ( pin number,low); // turn off components pin out.

Delay(400);

}
And this process will be continued repeatedly. The adreno measures only the time duration in milliseconds. So be careful about the timing for delaying of the arduino.
How to upload code to arduino uno
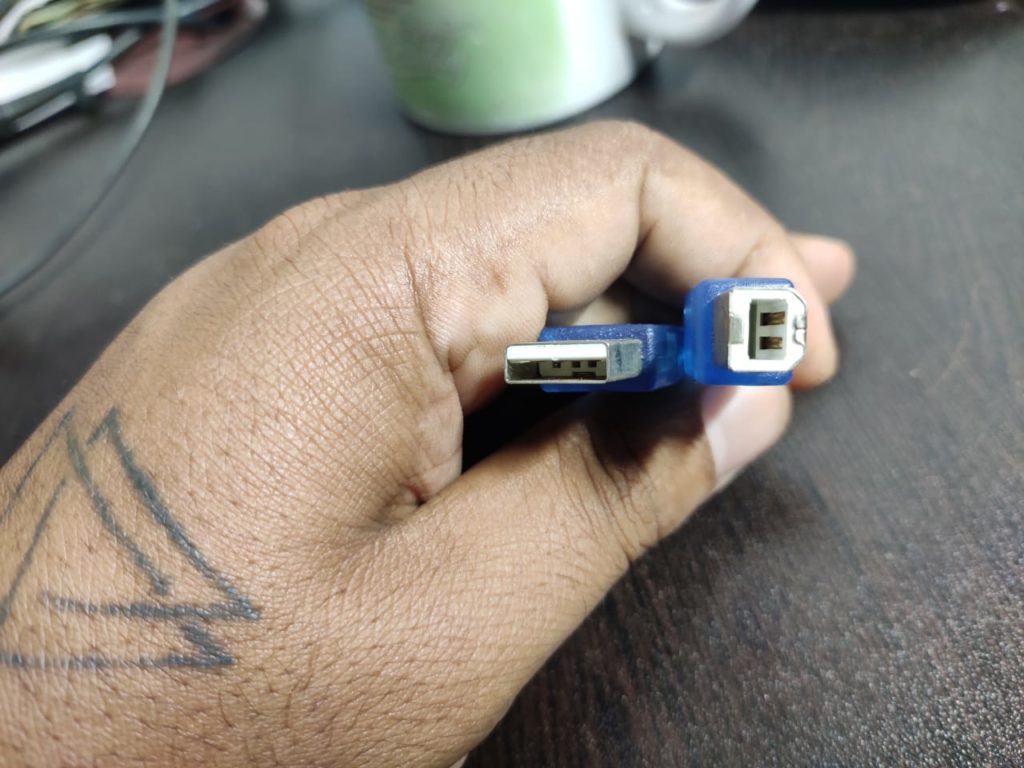
To upload the code to the Arduino board you need to connect a USB cable which will allow you to transmit data from your PC to the Arduino board.

After getting those cables you need to connect the USB cable to your Arduino board and then connected into the normal USB port of you’re your laptop.
Open the Arduino IDE software.

confirm the port in which you connected the Arduino board. it will be shown like Com5 com6.
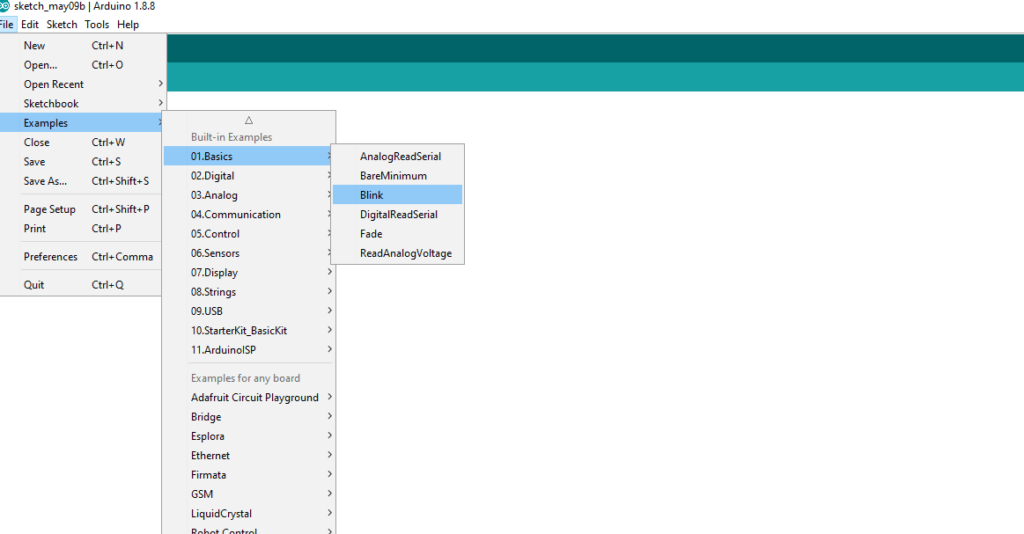
After that you need to compile the adreno code by clicking on the left upper side corner tick sign.
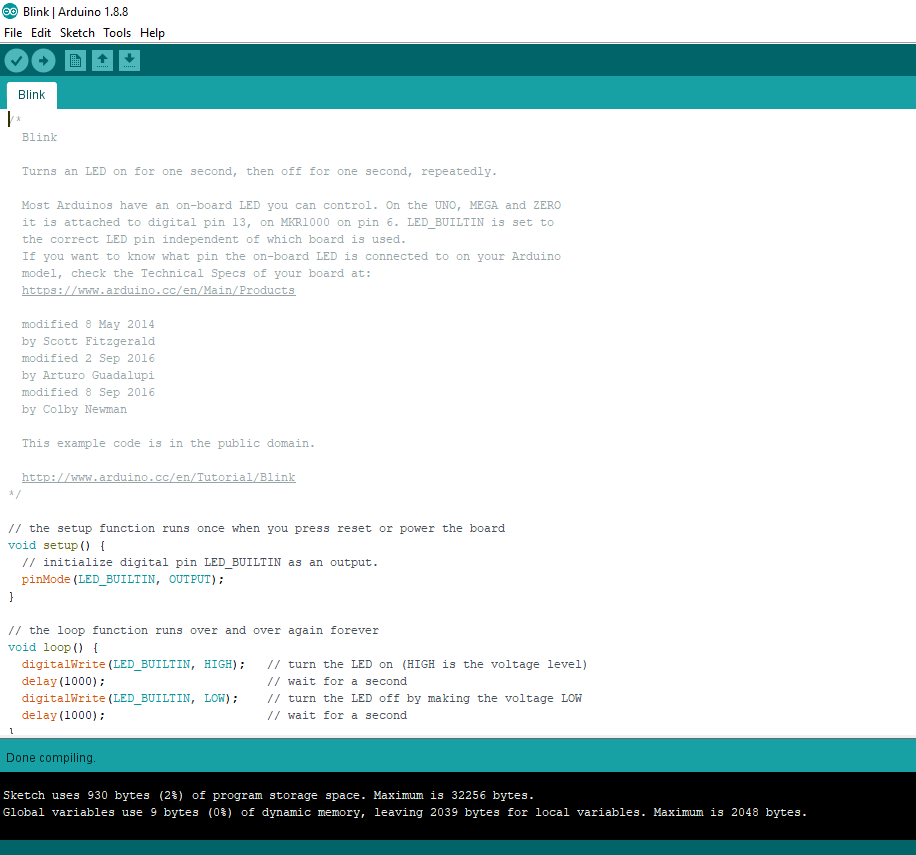
Then the software will start to compile and start to verify all the codes. that are properly arranged or not. If any mistakes happen in the code it will be shown on the display.
If any wrong quotes is there you need to correct it that for running the Arduino Uno.
After the comparing is successfully done you need to click on the right side arrow button to upload the codes to your Arduino board.

The three LED starts to blink when the program is uploading and the LED stops when the programming is fully done.