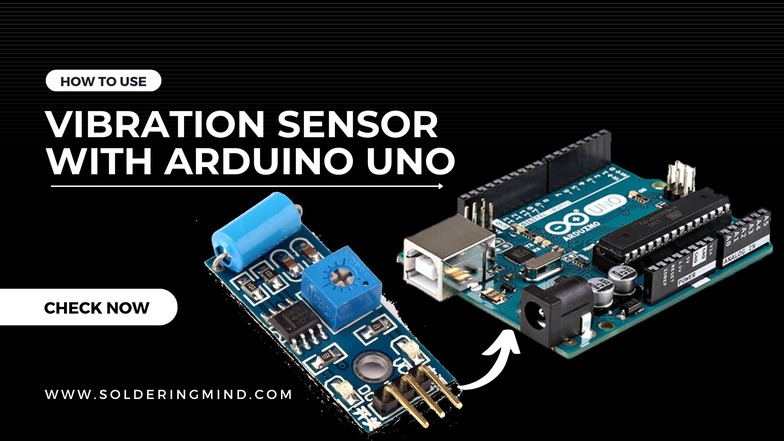
Vibration Sensor
A vibration sensor is a device that detects and measures mechanical vibrations and shock. These sensors are commonly used to monitor industrial machinery for fault detection and to predict equipment failure.
They can also be used in automotive, aerospace, and consumer electronics applications. The output of a vibration sensor is typically an electrical signal that can be processed by an electronic device to measure the vibration magnitude and frequency.
Vibration Sensor Pinout
The pinout of an Arduino vibration sensor typically consists of 3 pins: VCC, GND, and Signal.
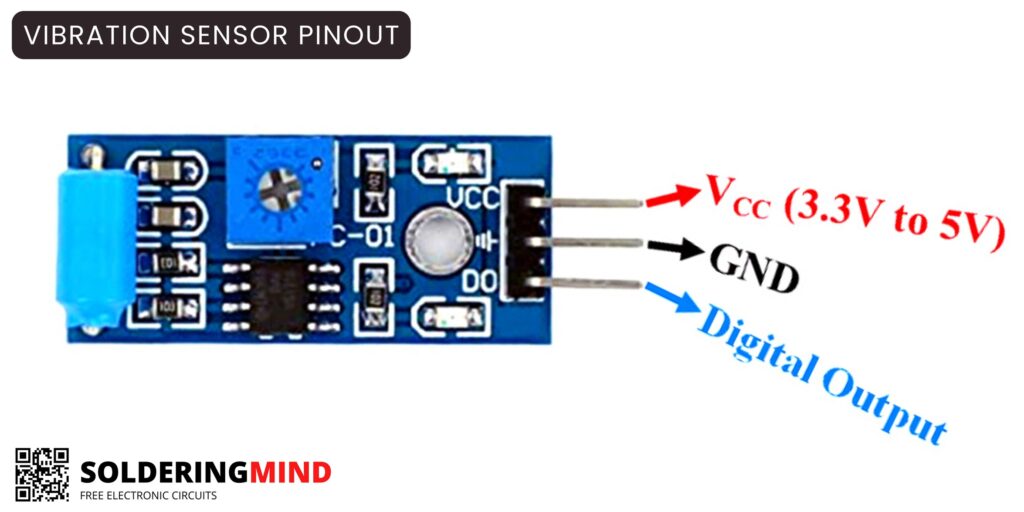
VCC is the positive voltage supply pin, typically connected to 5V on the Arduino board. GND is the ground pin, connected to GND on the Arduino board. Signal is the output pin that provides a signal indicating the level of vibration being detected. This pin is connected to an analog input pin on the Arduino board.
The specific pinout may vary depending on the specific vibration sensor model used. It is important to consult the data sheet or documentation for the specific sensor being used to determine the correct pin connections.
Step-by-Step Guide to Integrating a Vibration Sensor with Arduino
To use a vibration sensor with Arduino, you can follow these steps:
- Connect the vibration sensor to the Arduino board: Connect the positive (+) pin of the sensor to a digital pin on the Arduino, the negative (-) pin to GND, and the signal pin to another digital pin.
- Write the code: Use the Arduino IDE to write a sketch that reads the signal from the vibration sensor and performs an action based on the sensor’s state.
- Upload the code to the Arduino board: Connect the Arduino board to your computer with a USB cable and upload the sketch to the board.
Checking Vibration Sensor Using LED
const int sensorPin = 2;   // the pin that the sensor is attached to
const int ledPin = 13;     // the pin that the LED is attached to

void setup() {
  pinMode(sensorPin, INPUT);
  pinMode(ledPin, OUTPUT);
}

void loop() {
  int sensorValue = digitalRead(sensorPin);

  if (sensorValue == HIGH) {
    digitalWrite(ledPin, HIGH);   // turn the LED on
  }
  else {
    digitalWrite(ledPin, LOW);    // turn the LED off
  }
}
This code will turn on the LED attached to pin 13 when the sensor detects vibration.
Checking Vibration Sensor Using Serial Monitor
Using a vibration sensor with Arduino requires connecting the sensor to the Arduino board and writing code to read the sensor’s output. Here are the steps:
- Connect the Vibration sensor to the Arduino board:
- The Vibration sensor has 3 pins: VCC, GND, and Signal. Connect the VCC pin to a 5V power source on the Arduino board. Connect the GND pin to a GND pin on the board. Connect the Signal pin to an input pin on the board, for example, A0.
- Write the code to read the sensor’s output:
- In the code, use the Arduino’s analogRead() function to read the voltage on the input pin connected to the sensor’s Signal pin. The analogRead() function returns a value between 0 and 1023.
- Depending on the threshold value set, determine if the sensor is detecting vibration or not.
For Example :
const int sensorPin = A0;

void setup() {
  Serial.begin(9600);
}

void loop() {
  int sensorValue = analogRead(sensorPin);

  if (sensorValue > 700) {
    Serial.println("Vibration detected");
  } else {
    Serial.println("No vibration");
  }

  delay(1000);
}
Applications
Here are a few examples of Arduino projects that use a vibration sensor:
- Alarm system: A vibration sensor can be used to trigger an alarm when a door or window is opened. The alarm can be a simple buzzer or a more complex alarm system.
- Monitoring machinery: A vibration sensor can be attached to a piece of machinery to monitor its operation and detect any signs of vibration or wear.
- Automated taps: A vibration sensor can be used to turn on and off a tap automatically based on the presence of hands.
- Anti-theft device: A vibration sensor can be used to trigger an alarm or send a notification if a vehicle or object is being tampered with.
- Fall detection: A vibration sensor can be used in wearable devices to detect if a person has fallen and trigger an alarm or send a notification to a caregiver.
Simple Alarm System based on Vibration Sensor
Here is an example of a basic code for an alarm system using an Arduino and a vibration sensor:
const int sensorPin = A0;    // Analog input pin for the vibration sensor
const int alarmPin = 13;     // Digital output pin for the alarm

void setup() {
  pinMode(sensorPin, INPUT);
  pinMode(alarmPin, OUTPUT);
}

void loop() {
  int sensorValue = analogRead(sensorPin);  // Read the value from the sensor
  if (sensorValue > 500) {                  // If the sensor value is above a certain threshold
    digitalWrite(alarmPin, HIGH);           // Turn on the alarm
  } else {
    digitalWrite(alarmPin, LOW);            // Turn off the alarm
  }
}
Note: The threshold value of 500 in the code is just an example and should be adjusted based on the specific vibration sensor and desired sensitivity. It is important to calibrate the sensor and test the code to ensure it is working as expected.
Also Check :
- SRV05-4 Ethernet and USB Data Line Protector
- BC548 Bass Treble Board and Circuit Diagram
- MJE340 Transistor Pinout, Equivalent and Applications
- TDA8359J IC: Driving Vertical Deflection in TV Sets and Monitor
- Arduino Push Button Tutorial to Turn ON/OFF LED
- Millimetre of Water Column (mmWC) to Millimetre of Mercury (mmHg) Pressure Unit Conversion Calculator
- Simple Rain Detector Project



want to be very good at arduino programming and IoT