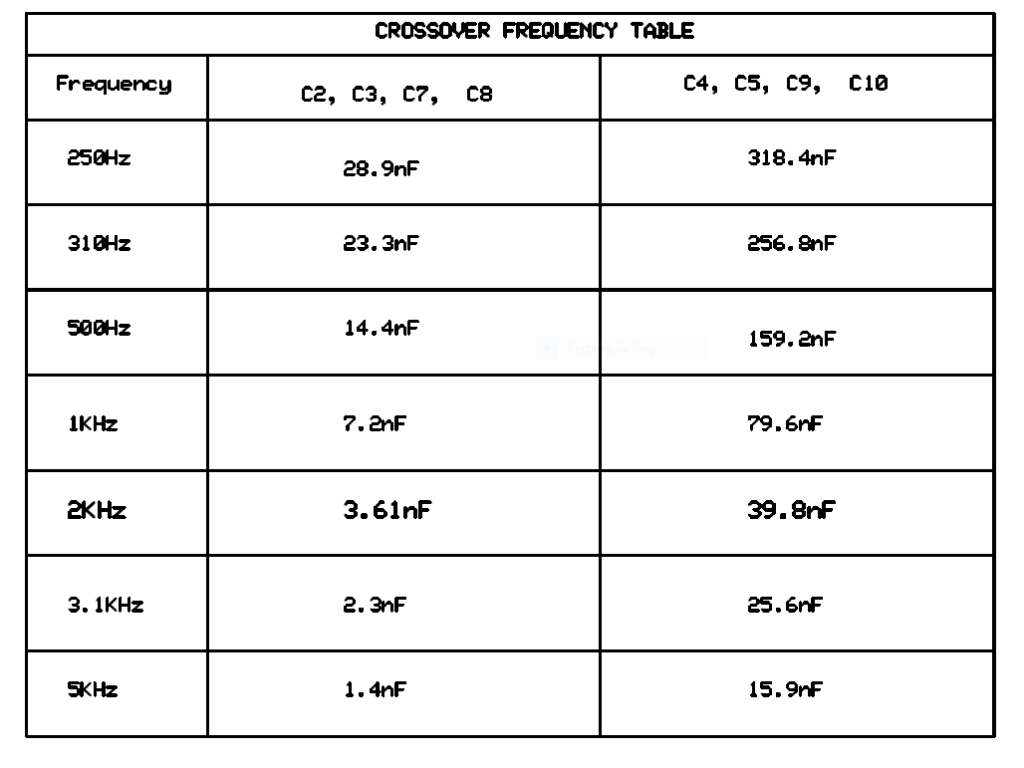
Ok bro, on this occasion I want to make a 2-way active cross-over board which is cheap and can be supplied with a 15V-0-15V- to 18V-0-18V transformer. This 2-way crossover is already a fixed model. which means the cut freq cannot be changed, but you can determine the cross-over point by adjusting the capacitor value used I have included the table below to determine the x-over cut point. This crossover only uses 3 dual op-amp ic and can be replaced according to your taste.
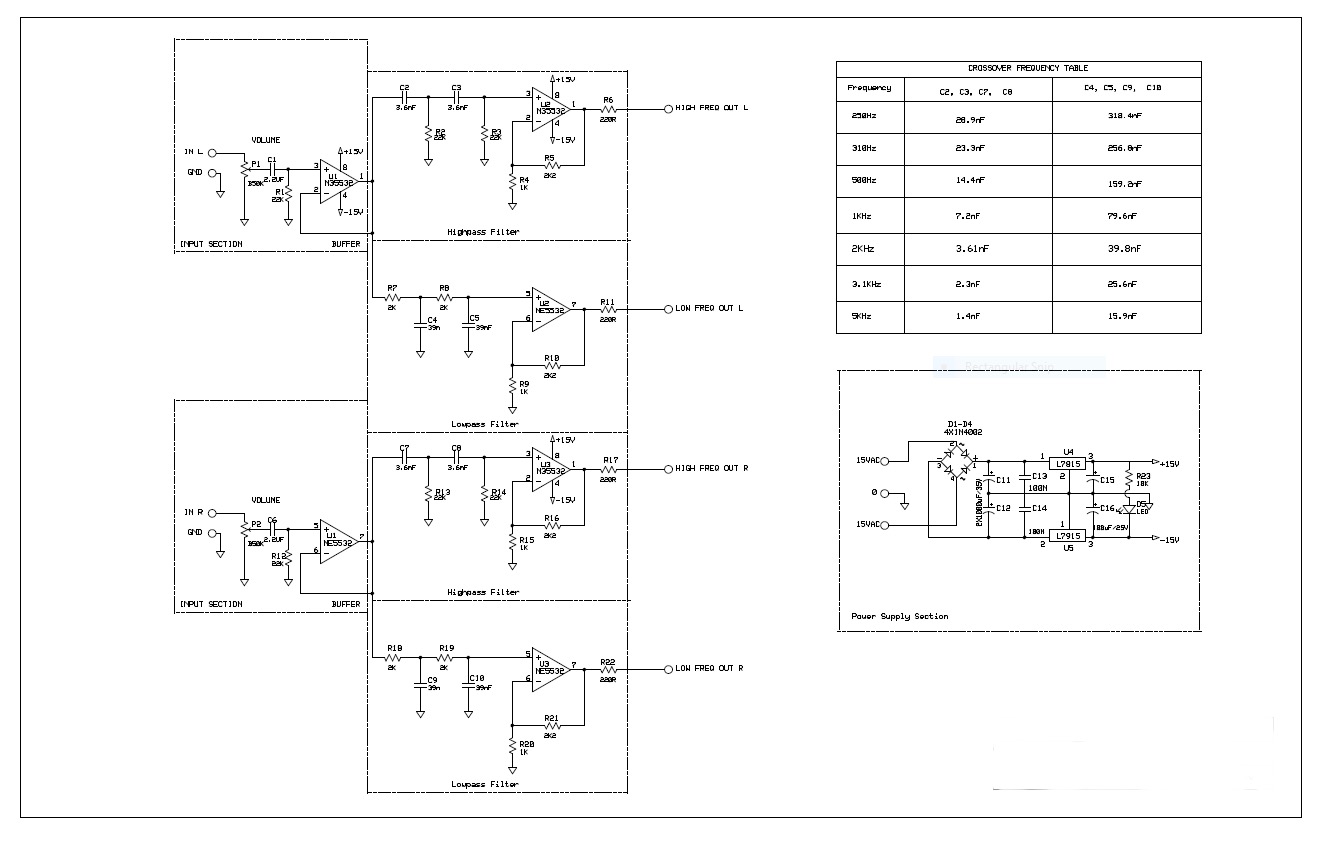
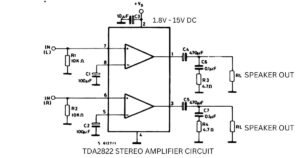
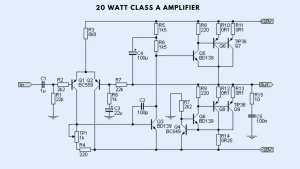
The following is the overall schematic of this 2-way active crossover:
Departing from the overall scheme, then I proceed to the layout design stage for this 2-way active crossover. The following is the appearance of the 2 way active cross-over design that I drew in the Easyeda application:
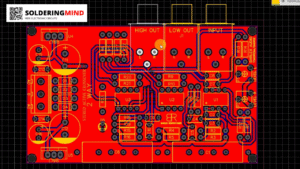
After the design feels good, the next step is that I will print the PCB abroad, if you need it, later you can buy it at my stall, namely Tokopedia or Shopee Barlex Audio.
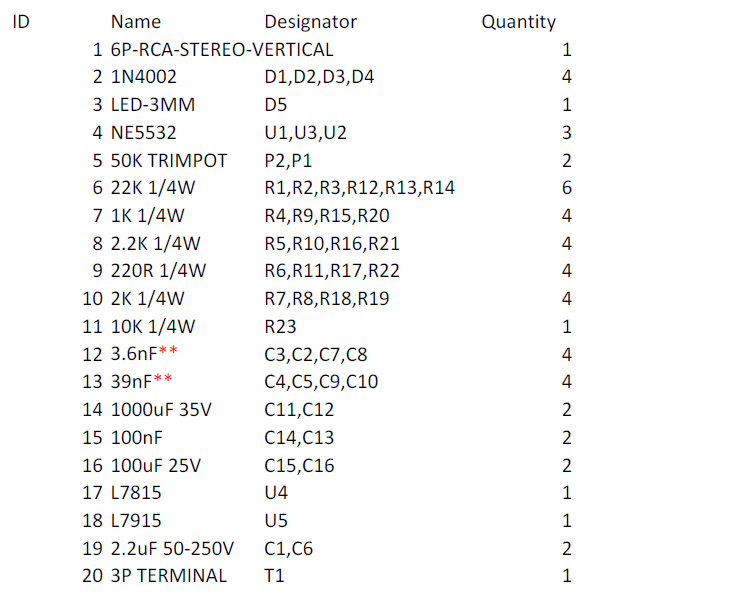
The next stage is to prepare the necessary components, namely:
After all the required components are available, the next step is to insert the components into the PCB one by one. Here I set the frequency at 2KHz.
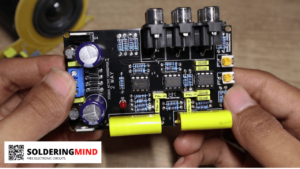
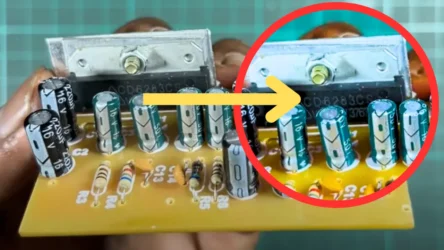
The next step is to solder the component legs with solder on the bottom of the PCB. The 2-way active cross-over kit has been completed and it’s just a test. It’s tiny and doesn’t take up much space.

Quality products can I get PDF please 🙏