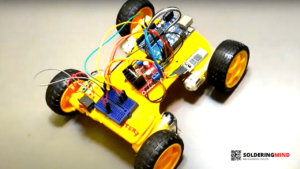
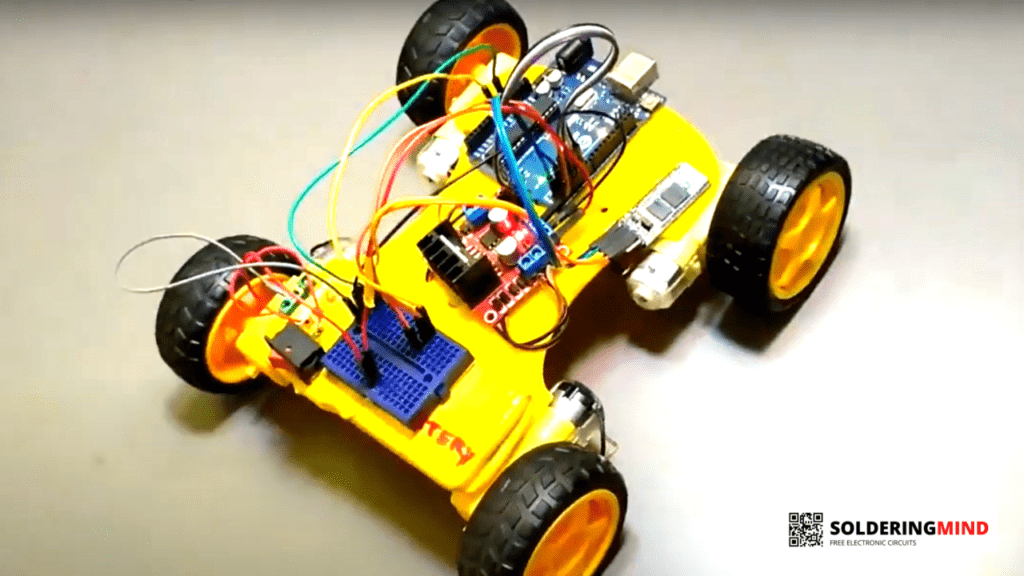
Hi, let’s build a toy for your baby, just joking? no. Let’s Build a Bluetooth-controlled Arduino RC Car. This remote-controlled car is not difficult to build. If you are planning to buy a toy car for your child, don’t waste your money and build a favorite car for him. They can only expect and dream about buying an RC car but You are a good dad you can build for your son. So let’s start from the beginning of making Bluetooth-controlled RC cars.
Things Need to Build Arduino RC Car
- Arduino UNO
- L298N Motor Driver
- HC-05 Bluetooth module
- Connecting wires
- 3-6V RC car motor.
- Car wheel.
- Battery holder
- 9v Battery
Arduino RC Car Circuit Diagram
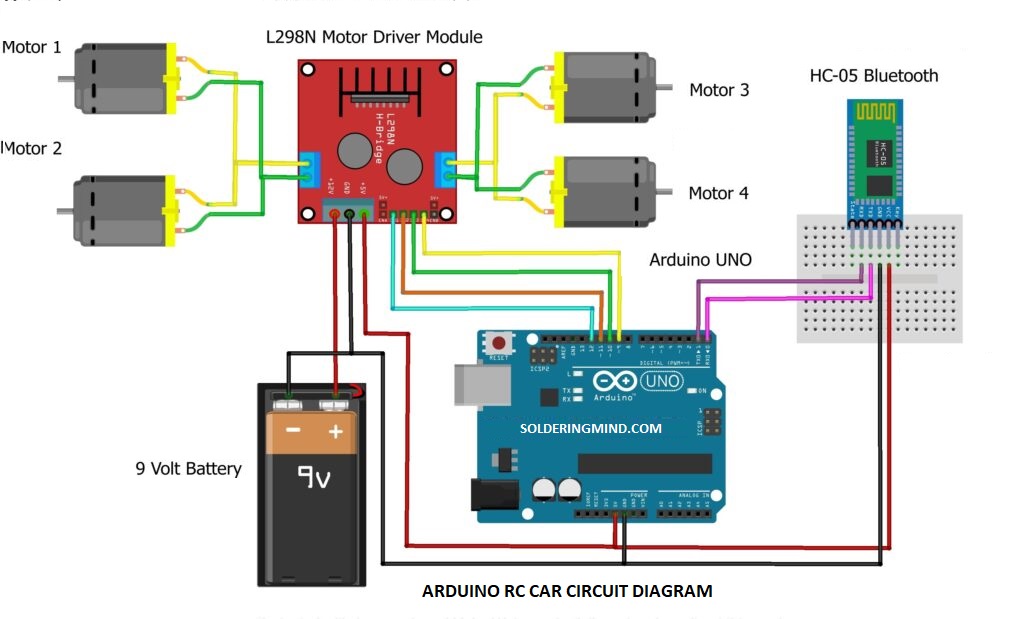
Detailed Connections
- Connect Arduino pin 12 to L298N Motor driver pins IN1, Arduino Pin 11 to IN2, Arduino pin 10 to IN3, and Arduino pin 9 to IN4 respectively.
- Connect HC-05 Bluetooth module VCC to Arduino 5V and module GND to Arduino GND. TX pin of HC-05 connects to the Arduino TX pin and the Tx pin of the Bluetooth module to the RX pin of Arduino.
- Motor 1 and Motor 2 connect parallel to each other and also same for Motor 3 and 4. These pins go to the L298N motor driver OUT1, OUT2, OUT3, and OUT4.
Motor
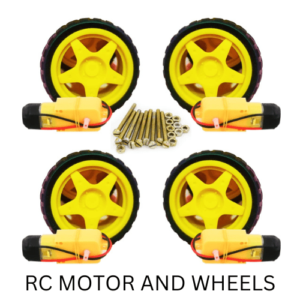
Here I am using a 100Rpm DC motor to run the RC car. You can also Buy This motor and 4 wheels from here easily. Buy 4 RC car motor and wheels
L298N Motor Driver Board
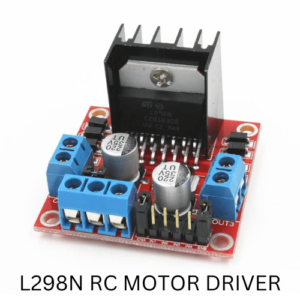
This electronic board will control the DC motors. If pressing on forward button on the app the signal transmitted to the HC-05 Bluetooth module and then it is received by the Arduino board. Then the forward signal passes to the motor-controlled board and the required action takes place. You can find a high-quality L298N Motor driver board here
HC-05 Bluetooth Module
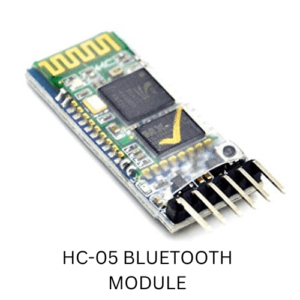
This is the major part of this RC project. This Bluetooth module will receive and transmit the data to the Arduino and the app. Wireless data transfer is occurring through this module Buy HC-05 Bluetooth module from here
Arduino RC Car Programming Code
//Solderingmind.com
char m=0;
void setup()
{
pinMode(9, OUTPUT);
pinMode(10, OUTPUT);
pinMode(11, OUTPUT);
pinMode(12, OUTPUT);

Serial.begin(9600);
}
void loop()
{
 if (Serial.available()>0)
 {
  m=Serial.read();
  Serial.println(m);
  }
 if (m=='R')
{
  digitalWrite(9, HIGH);
  digitalWrite(10, LOW);
  digitalWrite(11, HIGH);
  digitalWrite(12, LOW);
  }

  else if (m=='L')
{

  digitalWrite(9, LOW);
  digitalWrite(10, HIGH);
  digitalWrite(11, LOW);
  digitalWrite(12, HIGH);
  }

else if (m=='F')
{
  digitalWrite(9, HIGH);
  digitalWrite(10, LOW);
  digitalWrite(11, LOW);
  digitalWrite(12, HIGH);

  }

 else if (m=='B')
{
  digitalWrite(9, LOW);
  digitalWrite(10, HIGH);
  digitalWrite(11, HIGH);
  digitalWrite(12, LOW);

  }

else if (m=='S')
{
  digitalWrite(9, LOW);
  digitalWrite(10, LOW);
  digitalWrite(11, LOW);
  digitalWrite(12, LOW);
  }
}
After completing the programming and wiring connect with the batter and turn it on. Download the Bluetooth RC Car app from the Play Store and let’s go.
Check Other Arduino Related Projects Below


Very good!
Thks…
You are welcome buddy