Connecting a graphics card ( GPU ) to your computer or motherboard is very easy process. It needs some attention before going to plug in the GPU. If you are a first time PC builder you need to know all the connection and hardware you are using. Any wrong hardware placements or PSU connection will be temporarily or permanently kill your motherboard.
The particular component beginners have trouble in connecting graphics card. To do this properly you need to detach some wires from the motherboard and also some time it need to do more connections using additional connecting wires.
In this article i’m providing a simple guide on how to connect GPU to the motherboard. Also some important tips will be providing here.
How to Connect GPU to the Motherboard
Connecting a gpu to the motherboard is depending upon the device, motherboard properties and the GPU power consumption. A high end GPU can handle huge task at a time so it needs more power eg: RTX3080, RTX3090. This kind of GPU needs external connecting wires to turn on the GPU.
Keep the motherboard and graphics card’s manual near to you, for clarifying any doubts related to the GPU. Now without any delay just go to the main thing.
Find PCIe x16 Slot
The PCIe x16 slot is locating near to the corner of the motherboard. The motherboard have memory slot also but it have more differences in visual and technical. The PCIe x16 is known as Peripheral component interconnect express.
The memory or the RAM slot have lock on the both ends, when RAM inserting you can lock the RAM in both sides. The PCIe x16 slots have a single side plastic lock.
The PCIe x16 slot have either eight or sixteen lane of memory. This is act as the data transferring from GPU to the motherboard. This lane also determines how fast your GPU transferring the data also.
If the GPU is very big sized and it can not able to place on the computer cabin then we can use PIC risers and it can connect the GPU from outside. The PCI risers are connecting to the GPU PCIe x16_1 pin.
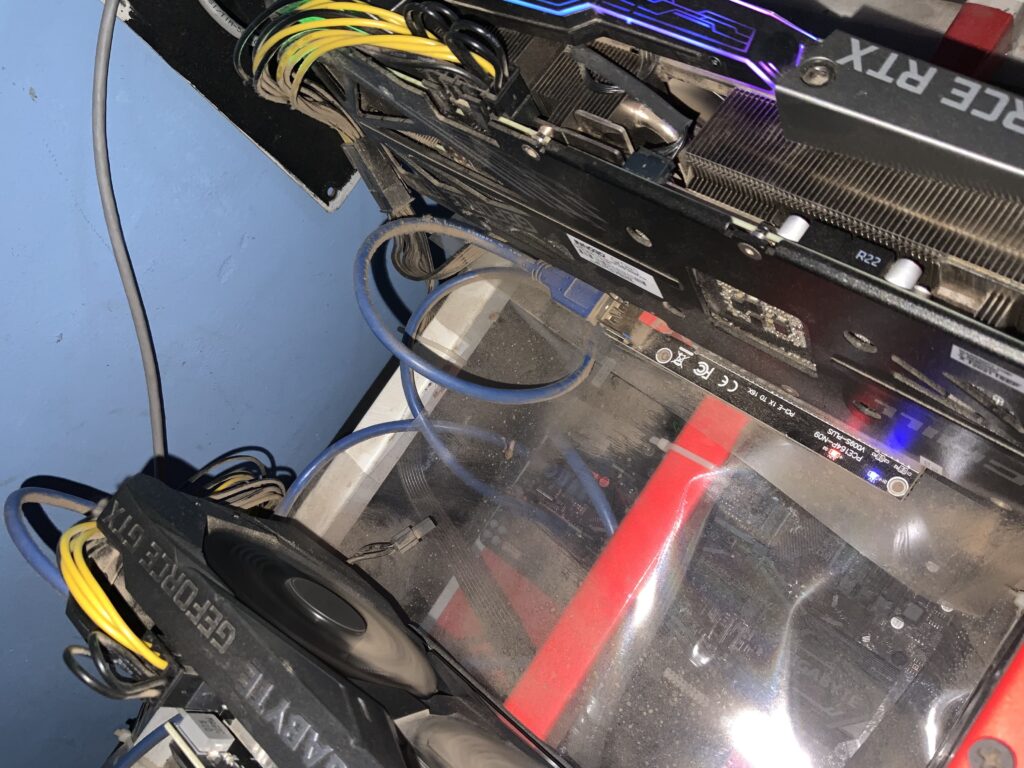
The graphics cards are connecting in the PCIe x16 slots or small and big size available in most of the motherboard. if you are using less power GPU rating of 120watt below you can easily connect directly in the motherboard without any external power supply.
Turn off PC before going to plugin
You need to remove the PSU connections as the 24pin and also the CPU pins from the motherboard. it will necessary while connecting any hardware to the motherboard. Don’t insert GPU to the motherboard in working condition. it will damage either motherboard or GPU.
Plug in the GPU in motherboard and lock it properly then attach the gpu in the back side of the pc. Fix it with screws attached with the motherboard. if you are using a high end GPU you need to connect gpu from external PCI risers and take direct power from the PSU to drive the graphics card.
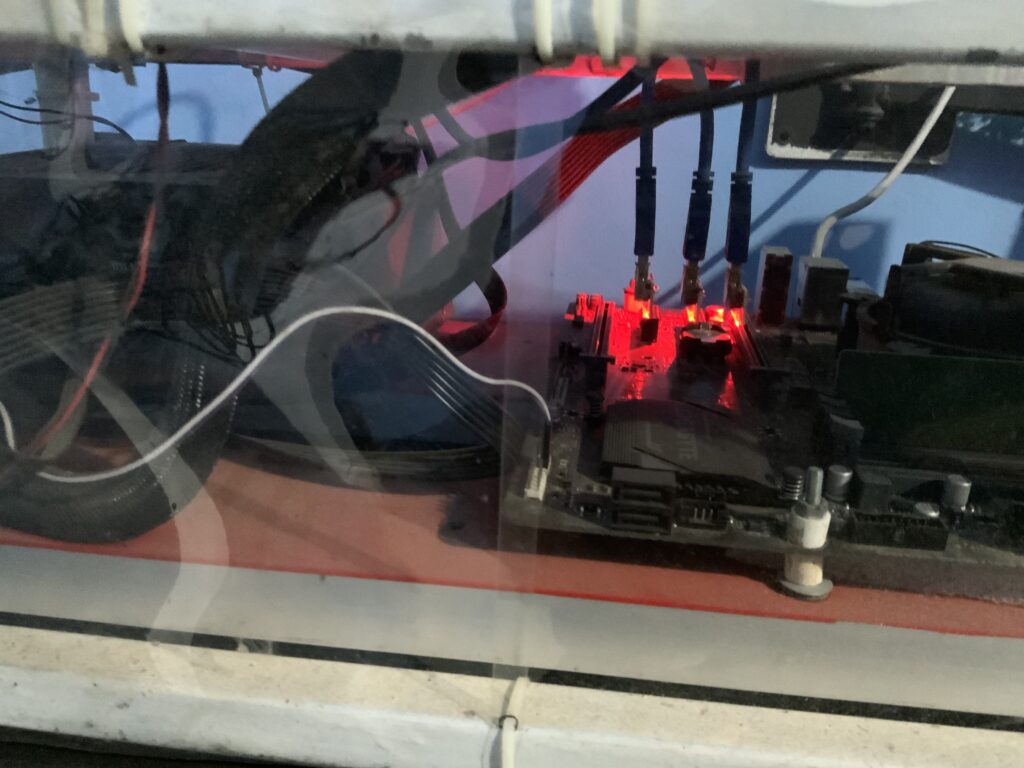
The PSU connection for GPU is split into two. One for the PCI riser powering and the next one is going direct to the top of the GPU pins it may be 8, 12 PIN socket.
Turn on PC
After complete connection of GPU you need to connect the Motherboard connection wires from the PSU. ( 24 pin and CPU pin ). Then check again about all the pins and gpu are properly attached on the motherboard then turn on your computer. When it boots it will detect the GPU. download the latest GPU driver from the websites of GPU manufacturer and enjoy.

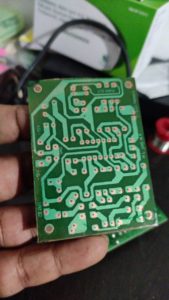
Useful and assembled graphics card.
Thanks for your comments