This article is about connecting a solar panel to a battery without fail. Complete step-by-step instructions are available. So do it carefully and read all of the instructions also. The solar battery will come with a voltage rating of 12v with different ampere ranges, such as 100Ah, 150Ah and 200Ah, batteries.
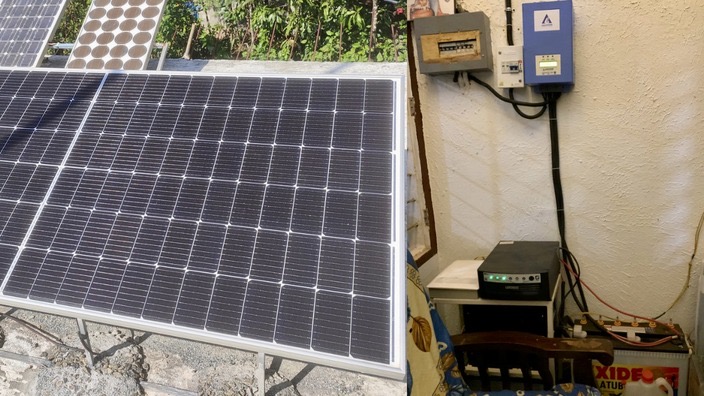
The solar panel setup is in two types, first one is an Off-grid setup and the other one is an on-grid solar setup. Here I am explaining the off-grid solar connections. The off-grid solar setup means the solar and inverter system works with a battery. The solar panels charge the battery pack. If a power loss happens that time the inverter uses the battery voltage to run.
Material Required
To set up an off-grid solar panel, you need to gather some important items to start work. In my case I’m planning to build a 450 watt solar panel setups, the required items are listed below.
- Waaree 445watt solar panel.
- Asha power surya 60 HV MPPT Charge Controller.
- DC Cable.
- MC4 Connector.
- Wire strippers.
- Soldering Iron.
- 12V Lead Acid battery (200Ah).
Waaree Solar Panel
The Waree is a number 1 solar manufacturing company. The quality and performance of the solar panel is quite impressive. I’m using 450watt Mono perc half cut solar panel here. Why mono perc half cut solar panel need to buy?
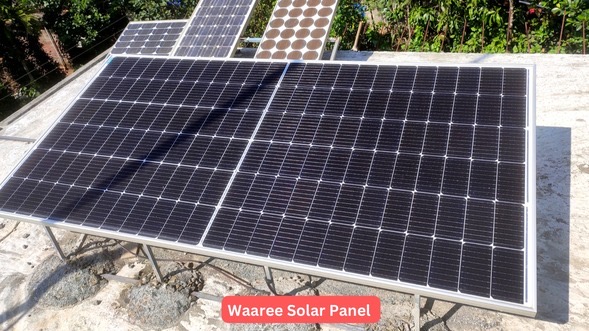
Waaree Solar Panel Details
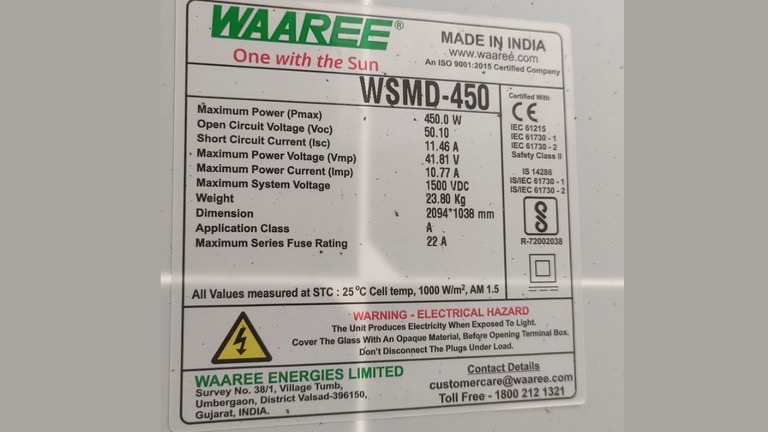
The 450 watt waaree solar panel produces maximum voltage output of 41.81v at maximum ampere rate of 10.77. So this powerful solar panel is enough to charge a 200AH 12v battery.
Asha power Surya 60HV MPPT Charge Controller
The solar panel VOC ( Output voltage is about 41.81 at full sun ). So this high voltage is not directly we can connect to a 12v battery. For efficient charging we are using a MPPT charger from asha power company.
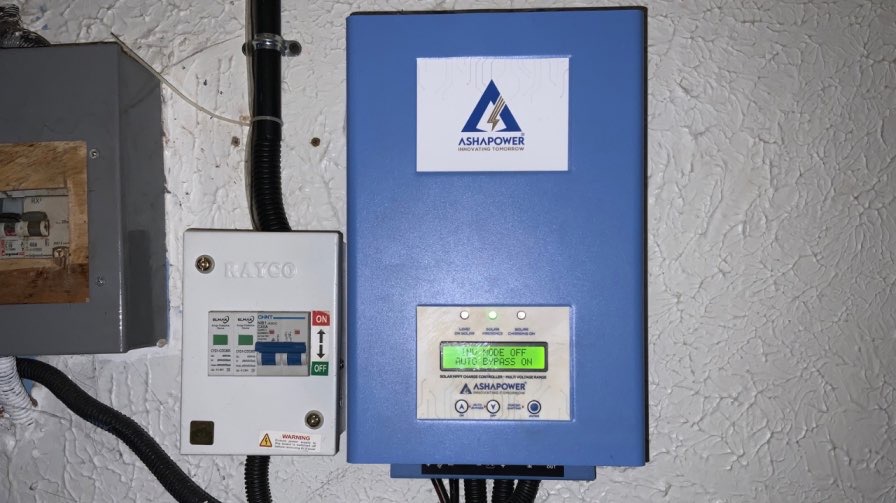
I’m using surya 60 Hv version of charge controller. It can able to deliver maximum charging current upto 60 ampear. A 200 Ah solar battery needs maximum 40A to quick charge. So this mppt is perfect one. Do you want to know how to select MPPT based on solar panel and battery ?
Also Check : 220v solar inverter circuit
Solar Panel Connecting Cable
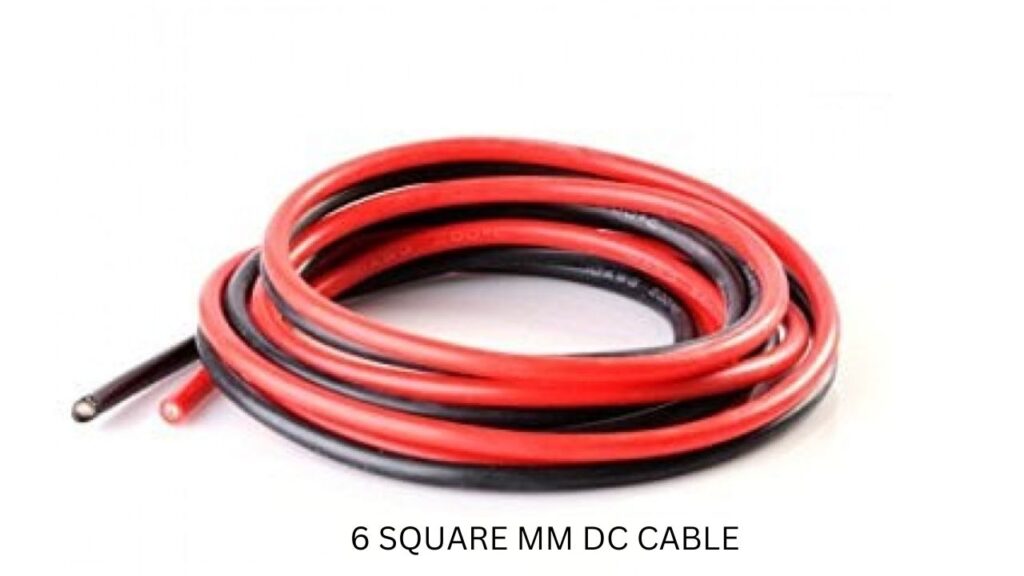
Solar dc cables do the power-carrying job from the solar panel. The selection of solar dc cable depends on the distance between the solar panel and the battery.
If the distance between the solar panel and the battery is about 15 m then we are using 6mm DC cables, if the distance is more than 15 meters we use 10 mm square DC cables for efficient power transmission.
MC4 Connectors
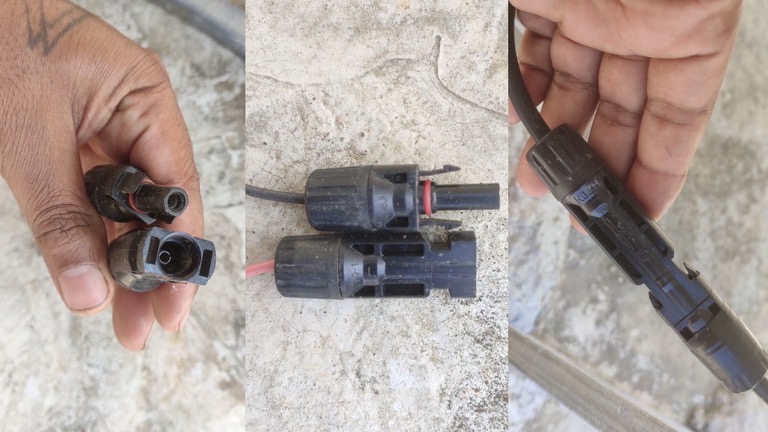
MC4 connectors are special type of single contact connector. They are using for connecting solar panel. The full name of MC4 is “multi contact for millimeter”.
Steps to connect a solar panel to the battery
For efficient battery charging needs the proper charging ampere from the solar panel and proper connection. So follow this steps to connect your solar panel to the battery properly.
1. Installing Solar Panel on Rooftop
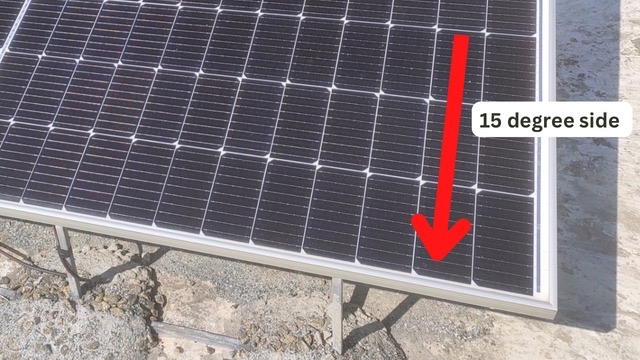
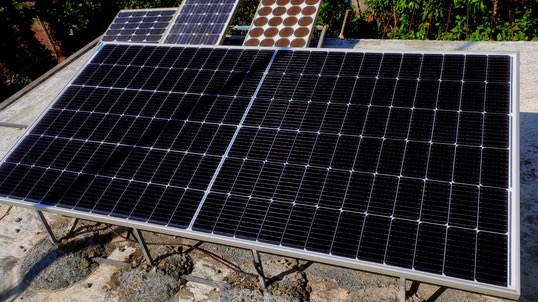
The solar panel installation on your roof top is critical task. You needs to take special care while fixing solar panel on roof. Solar panel need to slide about 9 to 15 degree to get maximum performance.
Place solar panel facing on south or west direction, because the sun travel from east to west direction ( The angle of solar panel is based on your location ).
Zero degree flat of solar panel will not gives its maximum efficiency. So build a 11 or 15 degree slide frame to attach your solar panels.
2. Connect Solar cables to MC4 Connector
First measure the wire length you need to connect. Then cut the wire to length. Grab your wire stripper and strip the DC cable.
Crimp the male pin to the connecting wire. Insert the stripped wire into the male pin. Then crimp the pin to wire using the crimp tool. After that solder on the pin end and wire.
Unscrew the end cap of MC4 connector. Then insert the soldered DC wire in to it and lock with the cap.Do this steps on both positive and negative wires.
3. Connect MC4 Connector to Solar Panel
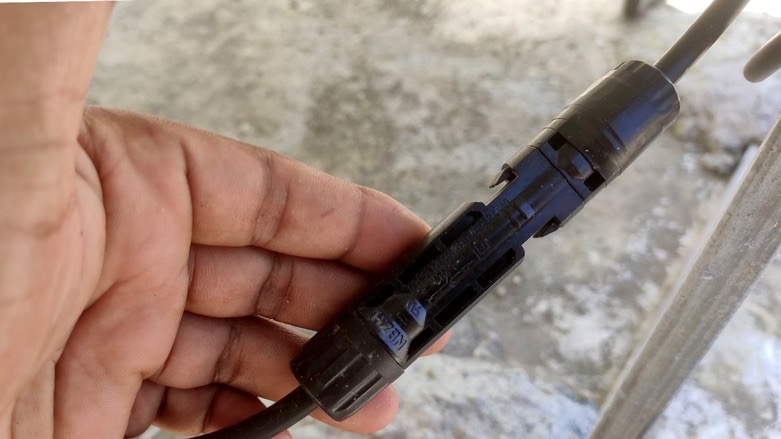
The solar panel also have the MC4 Connector at the end of connecting wires. So based on the polarity connect the positive and negative DC cables by inserting the MC4 connector each together.
4. Connect Solar Panel to MPPT
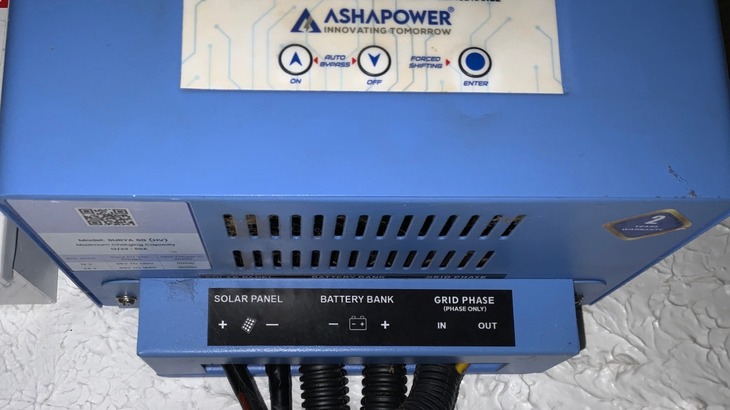
After proper installation and connection of solar panel, we moves to the MPPT solar connection. Take the positive and negative wire terminals from the solar panel. Then connect the DC wires to MPPT.
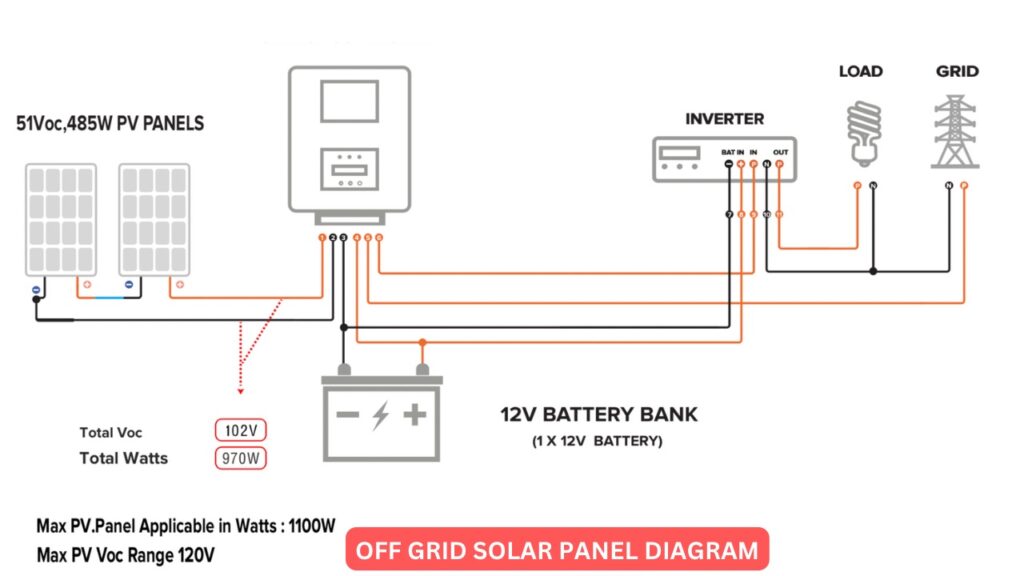
5. Connect Solar Charge Controller to Battery
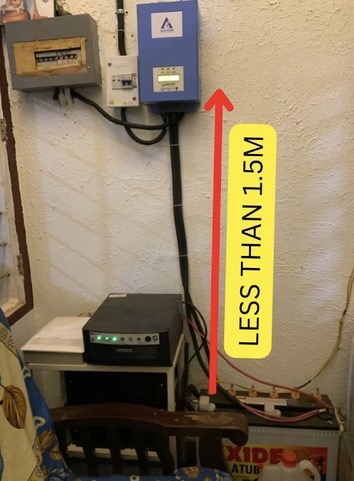
The Battery connection and polarity mentioned in the solar charge controller. Use minimum of 10 squre mm wire for battery connection. The distance between solar charger and battery must be less than 1.5 meter.


I need more diagrams
Explain more
I want to no more about this our work if possible to live my country and traven to your location I will being so happy.
What you want to know just ask here