Using a push button and Arduino Uno board we can build a push button-based LED ON/OFF circuit easily. In this Arduino Push Button tutorial, I will teach you how to connect the push button and LED to the Arduino board and give you the programming code. Before starting to work with Arduino please make sure that all materials are available to you especially if you are a beginner in programming Arduino please install Arduino IDE software for uploading codes to the Arduino board.
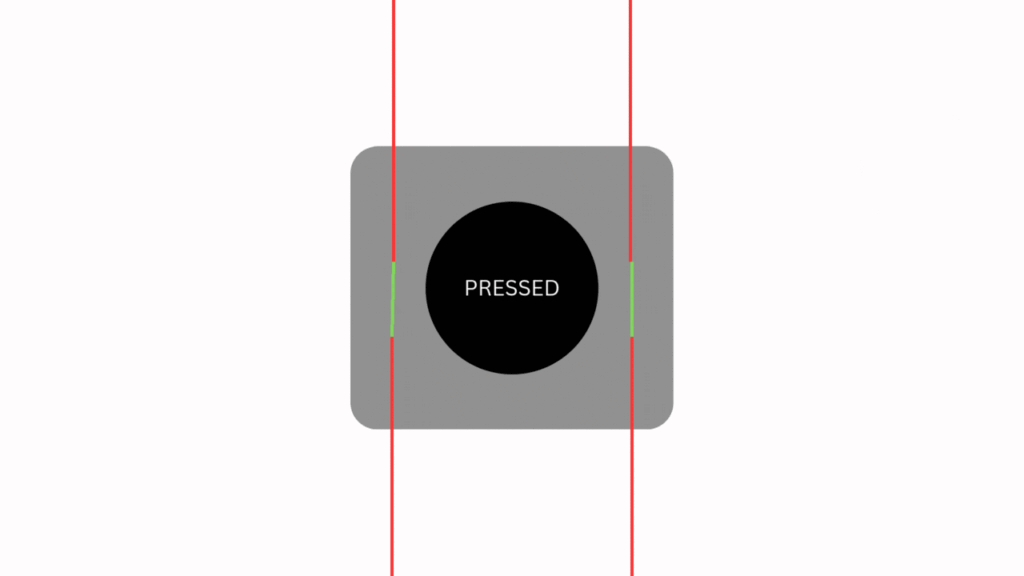
Push button
Circuit diagram
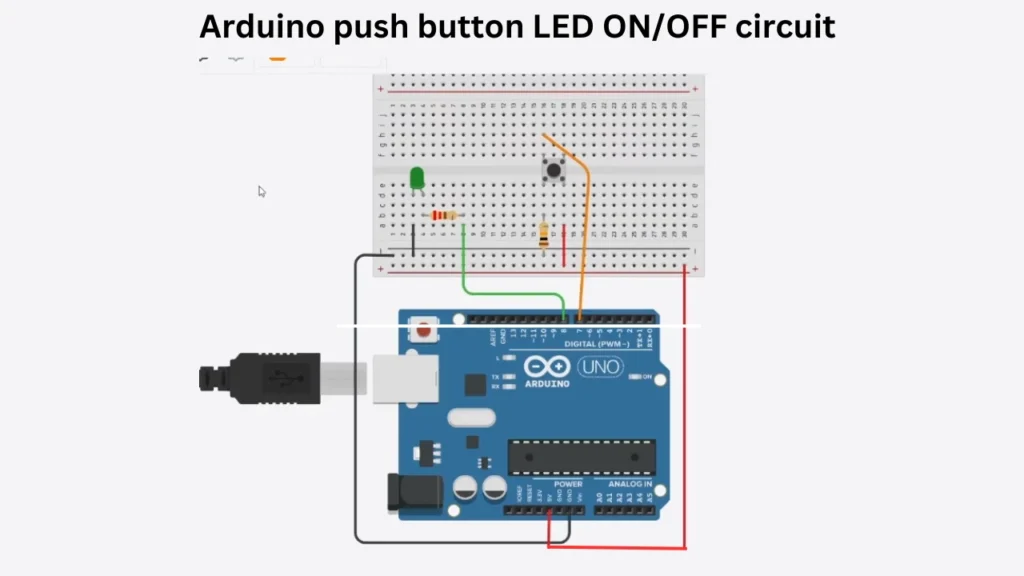
Components and Hardware required
| Component | Value | Quantity |
|---|---|---|
| Arduino Uno | – | 1 |
| Resistor | 220ohms, 10K ohms | 1, 1 |
| Push button | – | 1 |
| LED | Any colour | 1 |
Arduino Programming Code for LED Turn ON/OFF
#define LED_PIN 8
#define BUTTON_PIN 7

void setup() {
  pinMode(LED_PIN, OUTPUT);
  pinMode(BUTTON_PIN, INPUT);
}
void loop() {
  if (digitalRead(BUTTON_PIN) == HIGH) {
    digitalWrite(LED_PIN, HIGH);
  }
  else {
    digitalWrite(LED_PIN, LOW);
  }
}
How Does the Code Work?
The above code shows that the LED PIN is pin 8 of the Arduino, which is set to the OUTPUT mode. This means that if the button is pressed, the LED turns on.
BUTTON PIN is PIN 7, which is set to INPUT mode. This will be the button input connection. When we provide a power supply, the button’s current state (connected to BUTTON_PIN) is constantly checked using digitalRead().
If the button is pressed (digitalRead(BUTTON_PIN) == HIGH), the LED connected to LED_PIN is turned on (digitalWrite(LED_PIN, HIGH)). If the button is not pressed, the LED is turned off (digitalWrite(LED_PIN, LOW)).